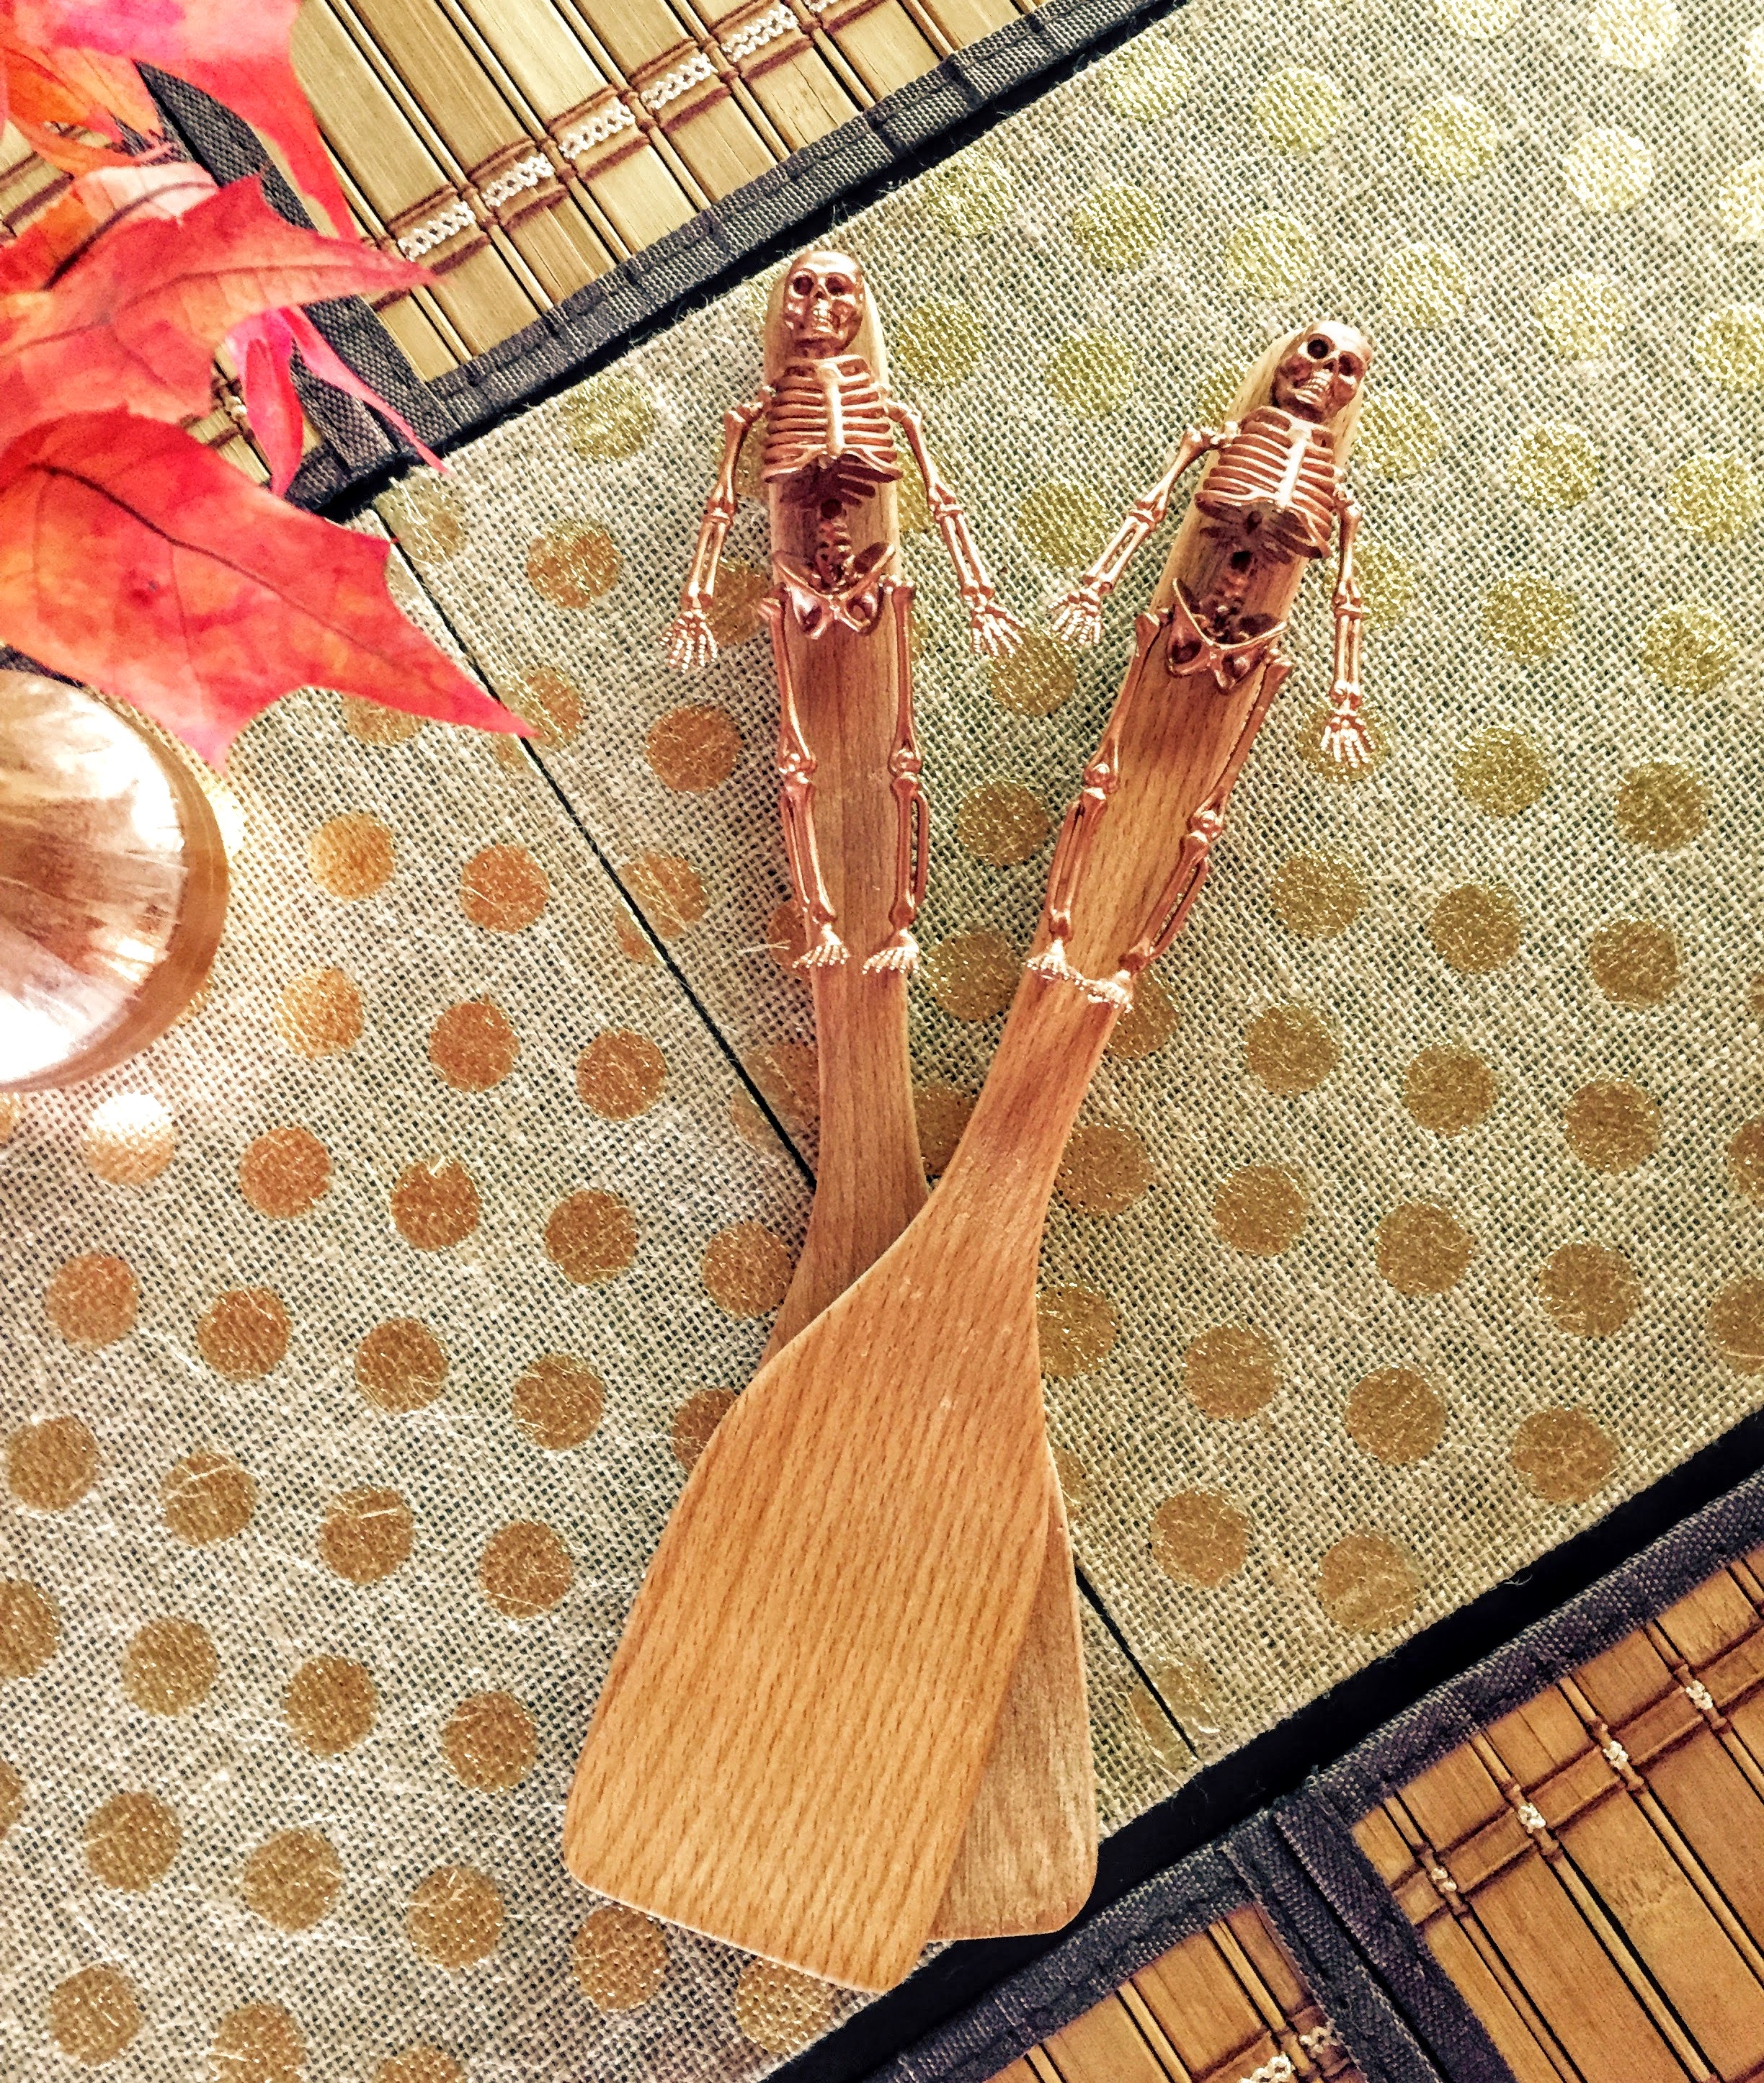
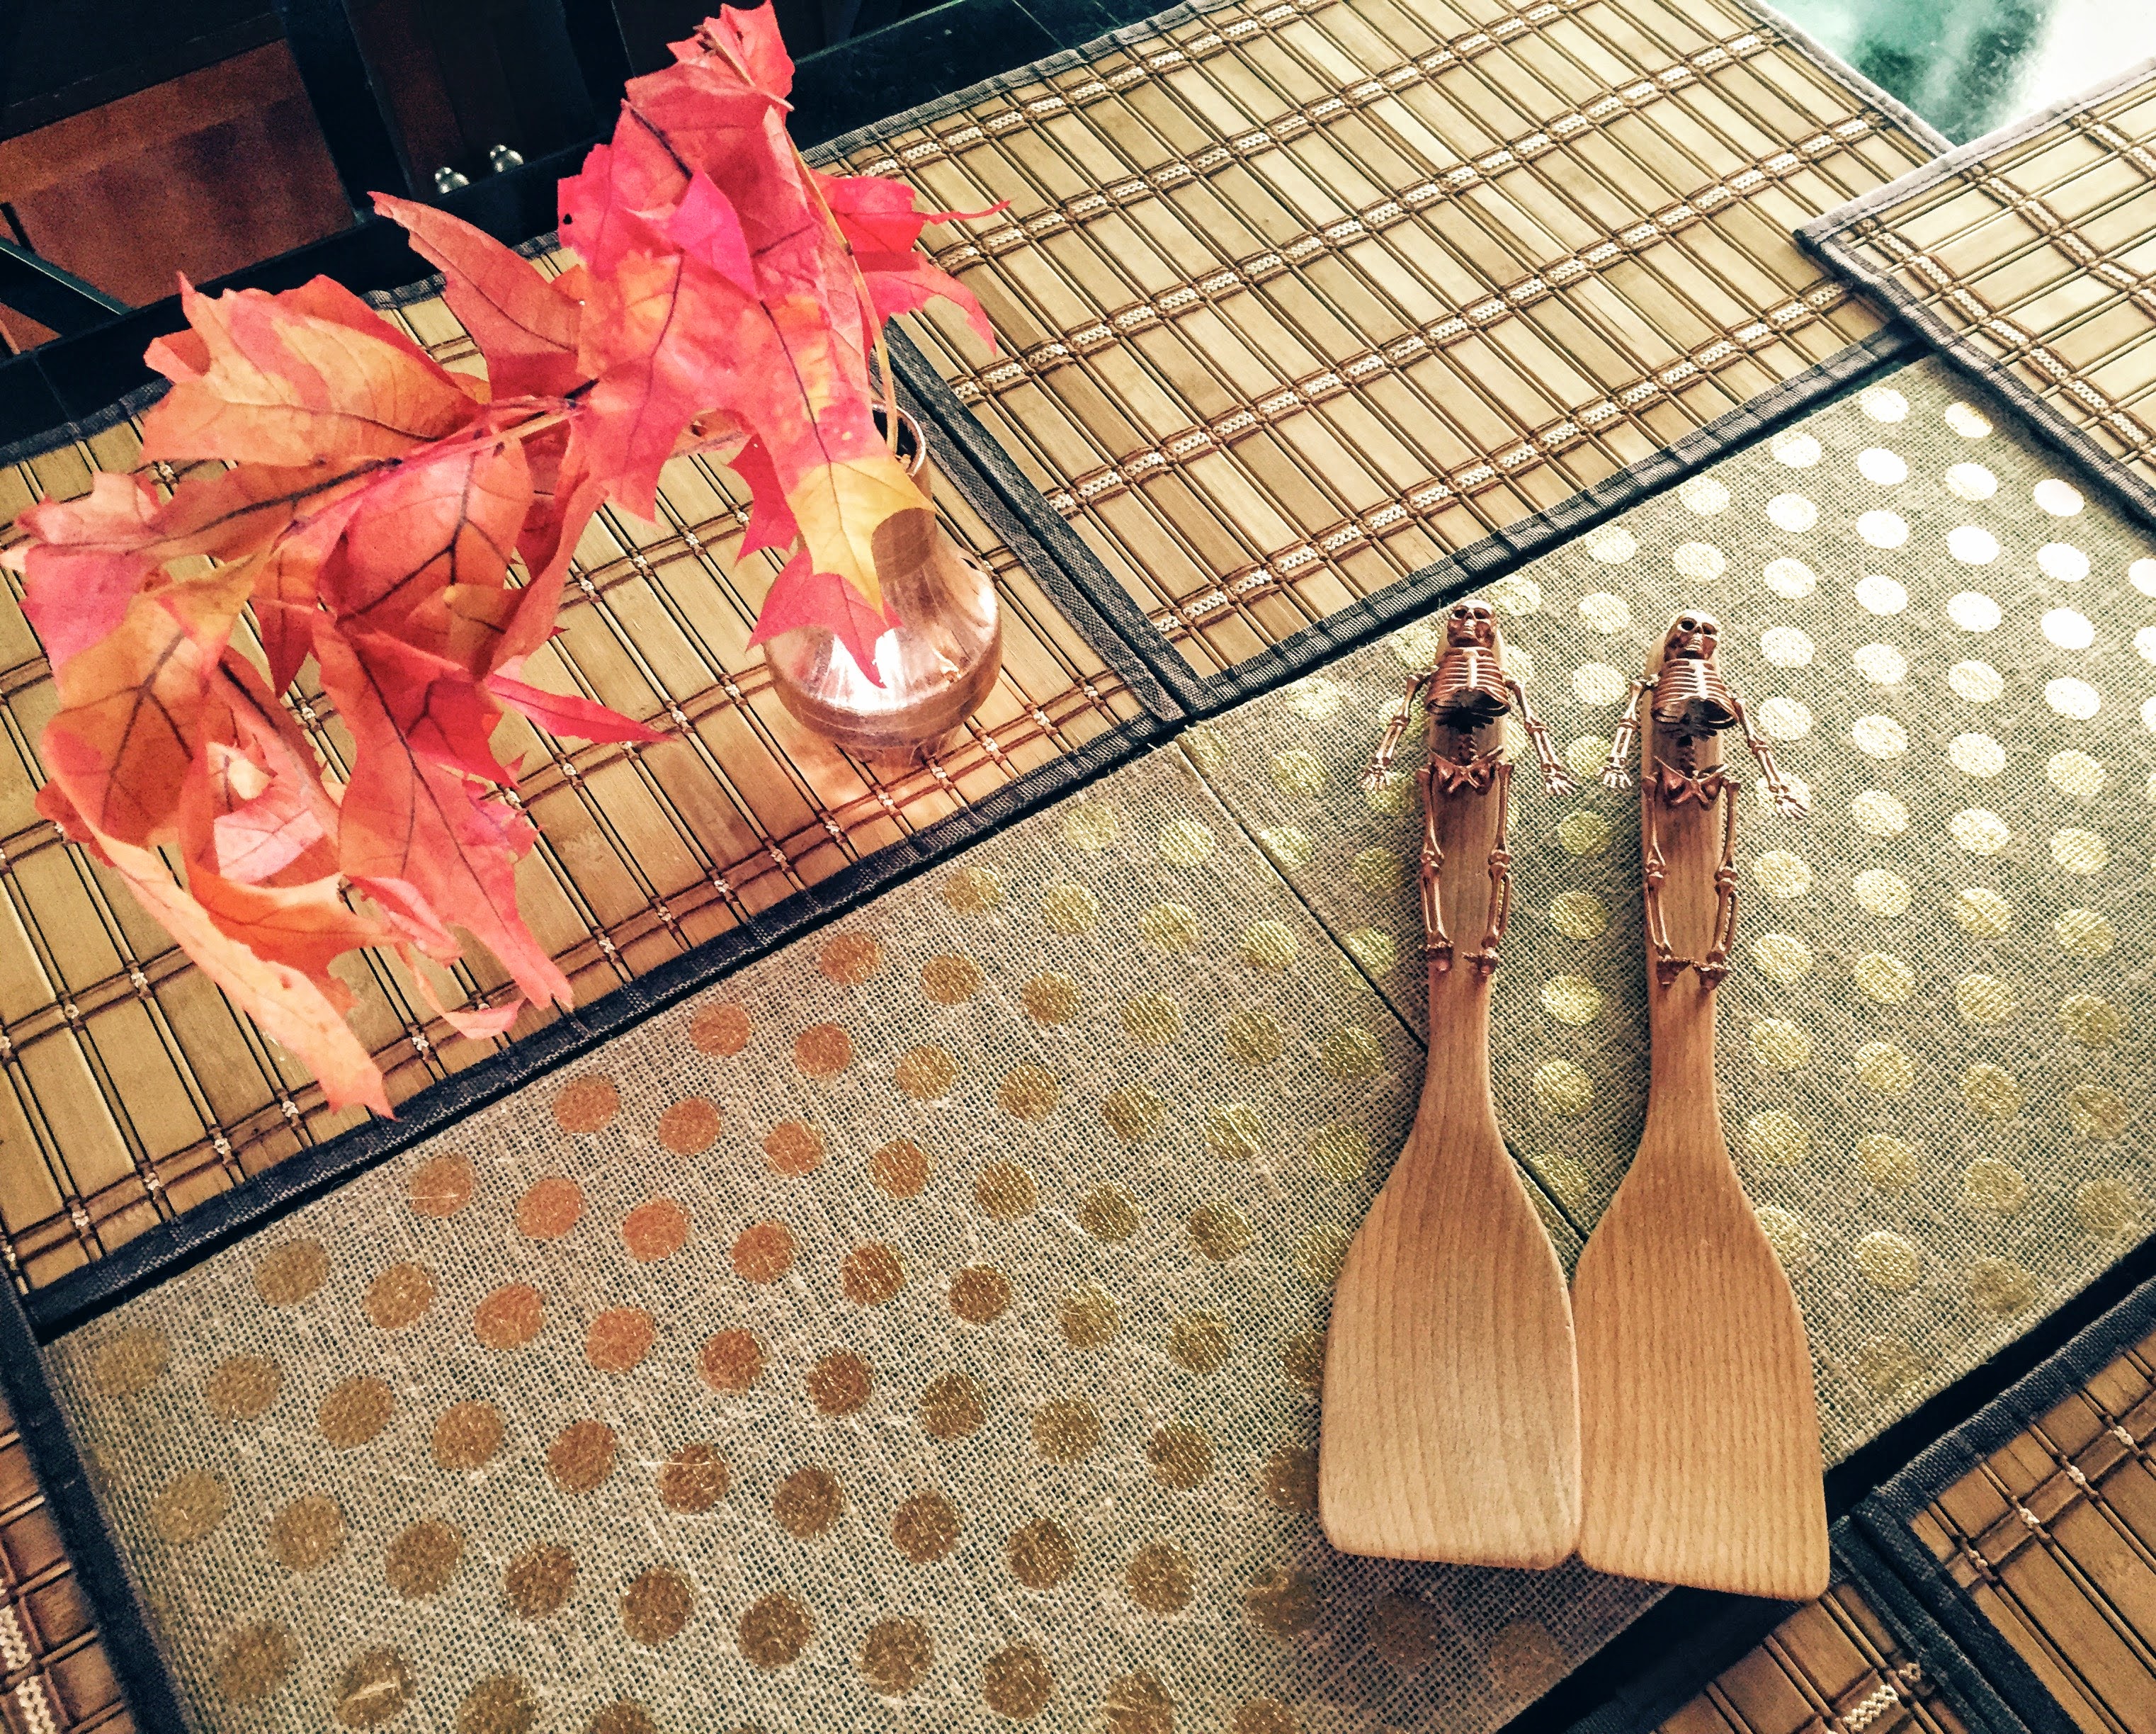
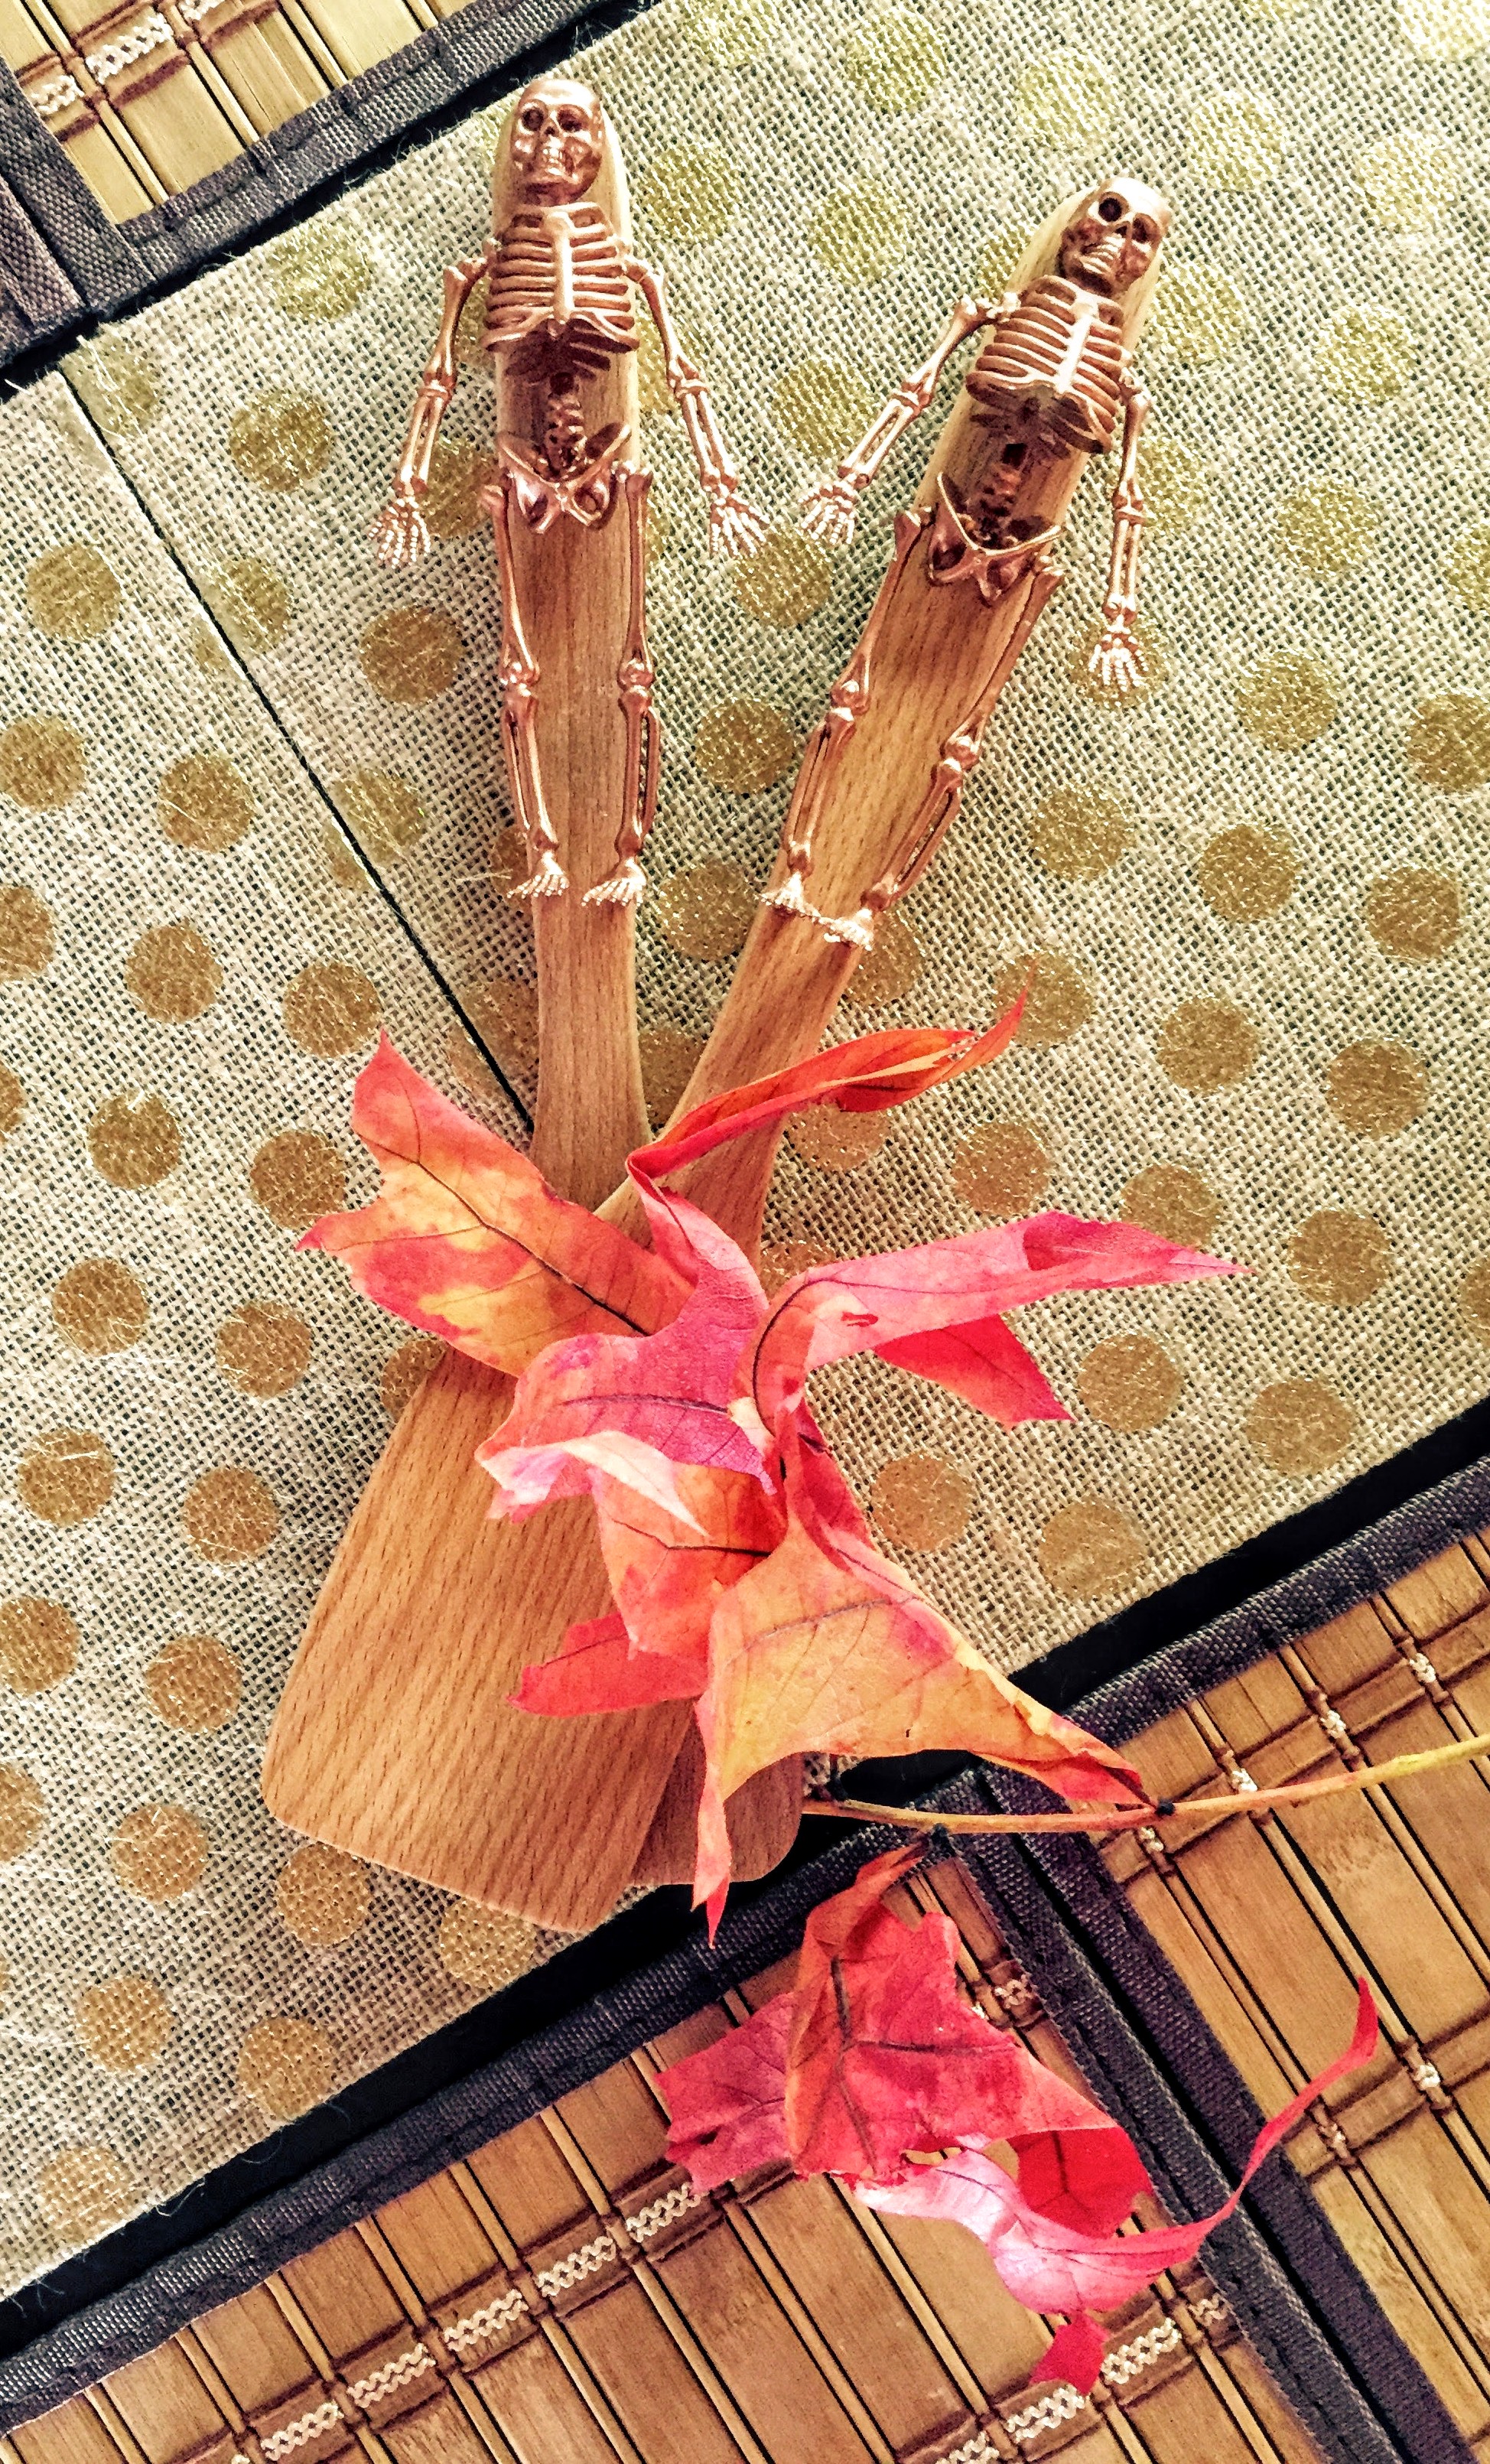
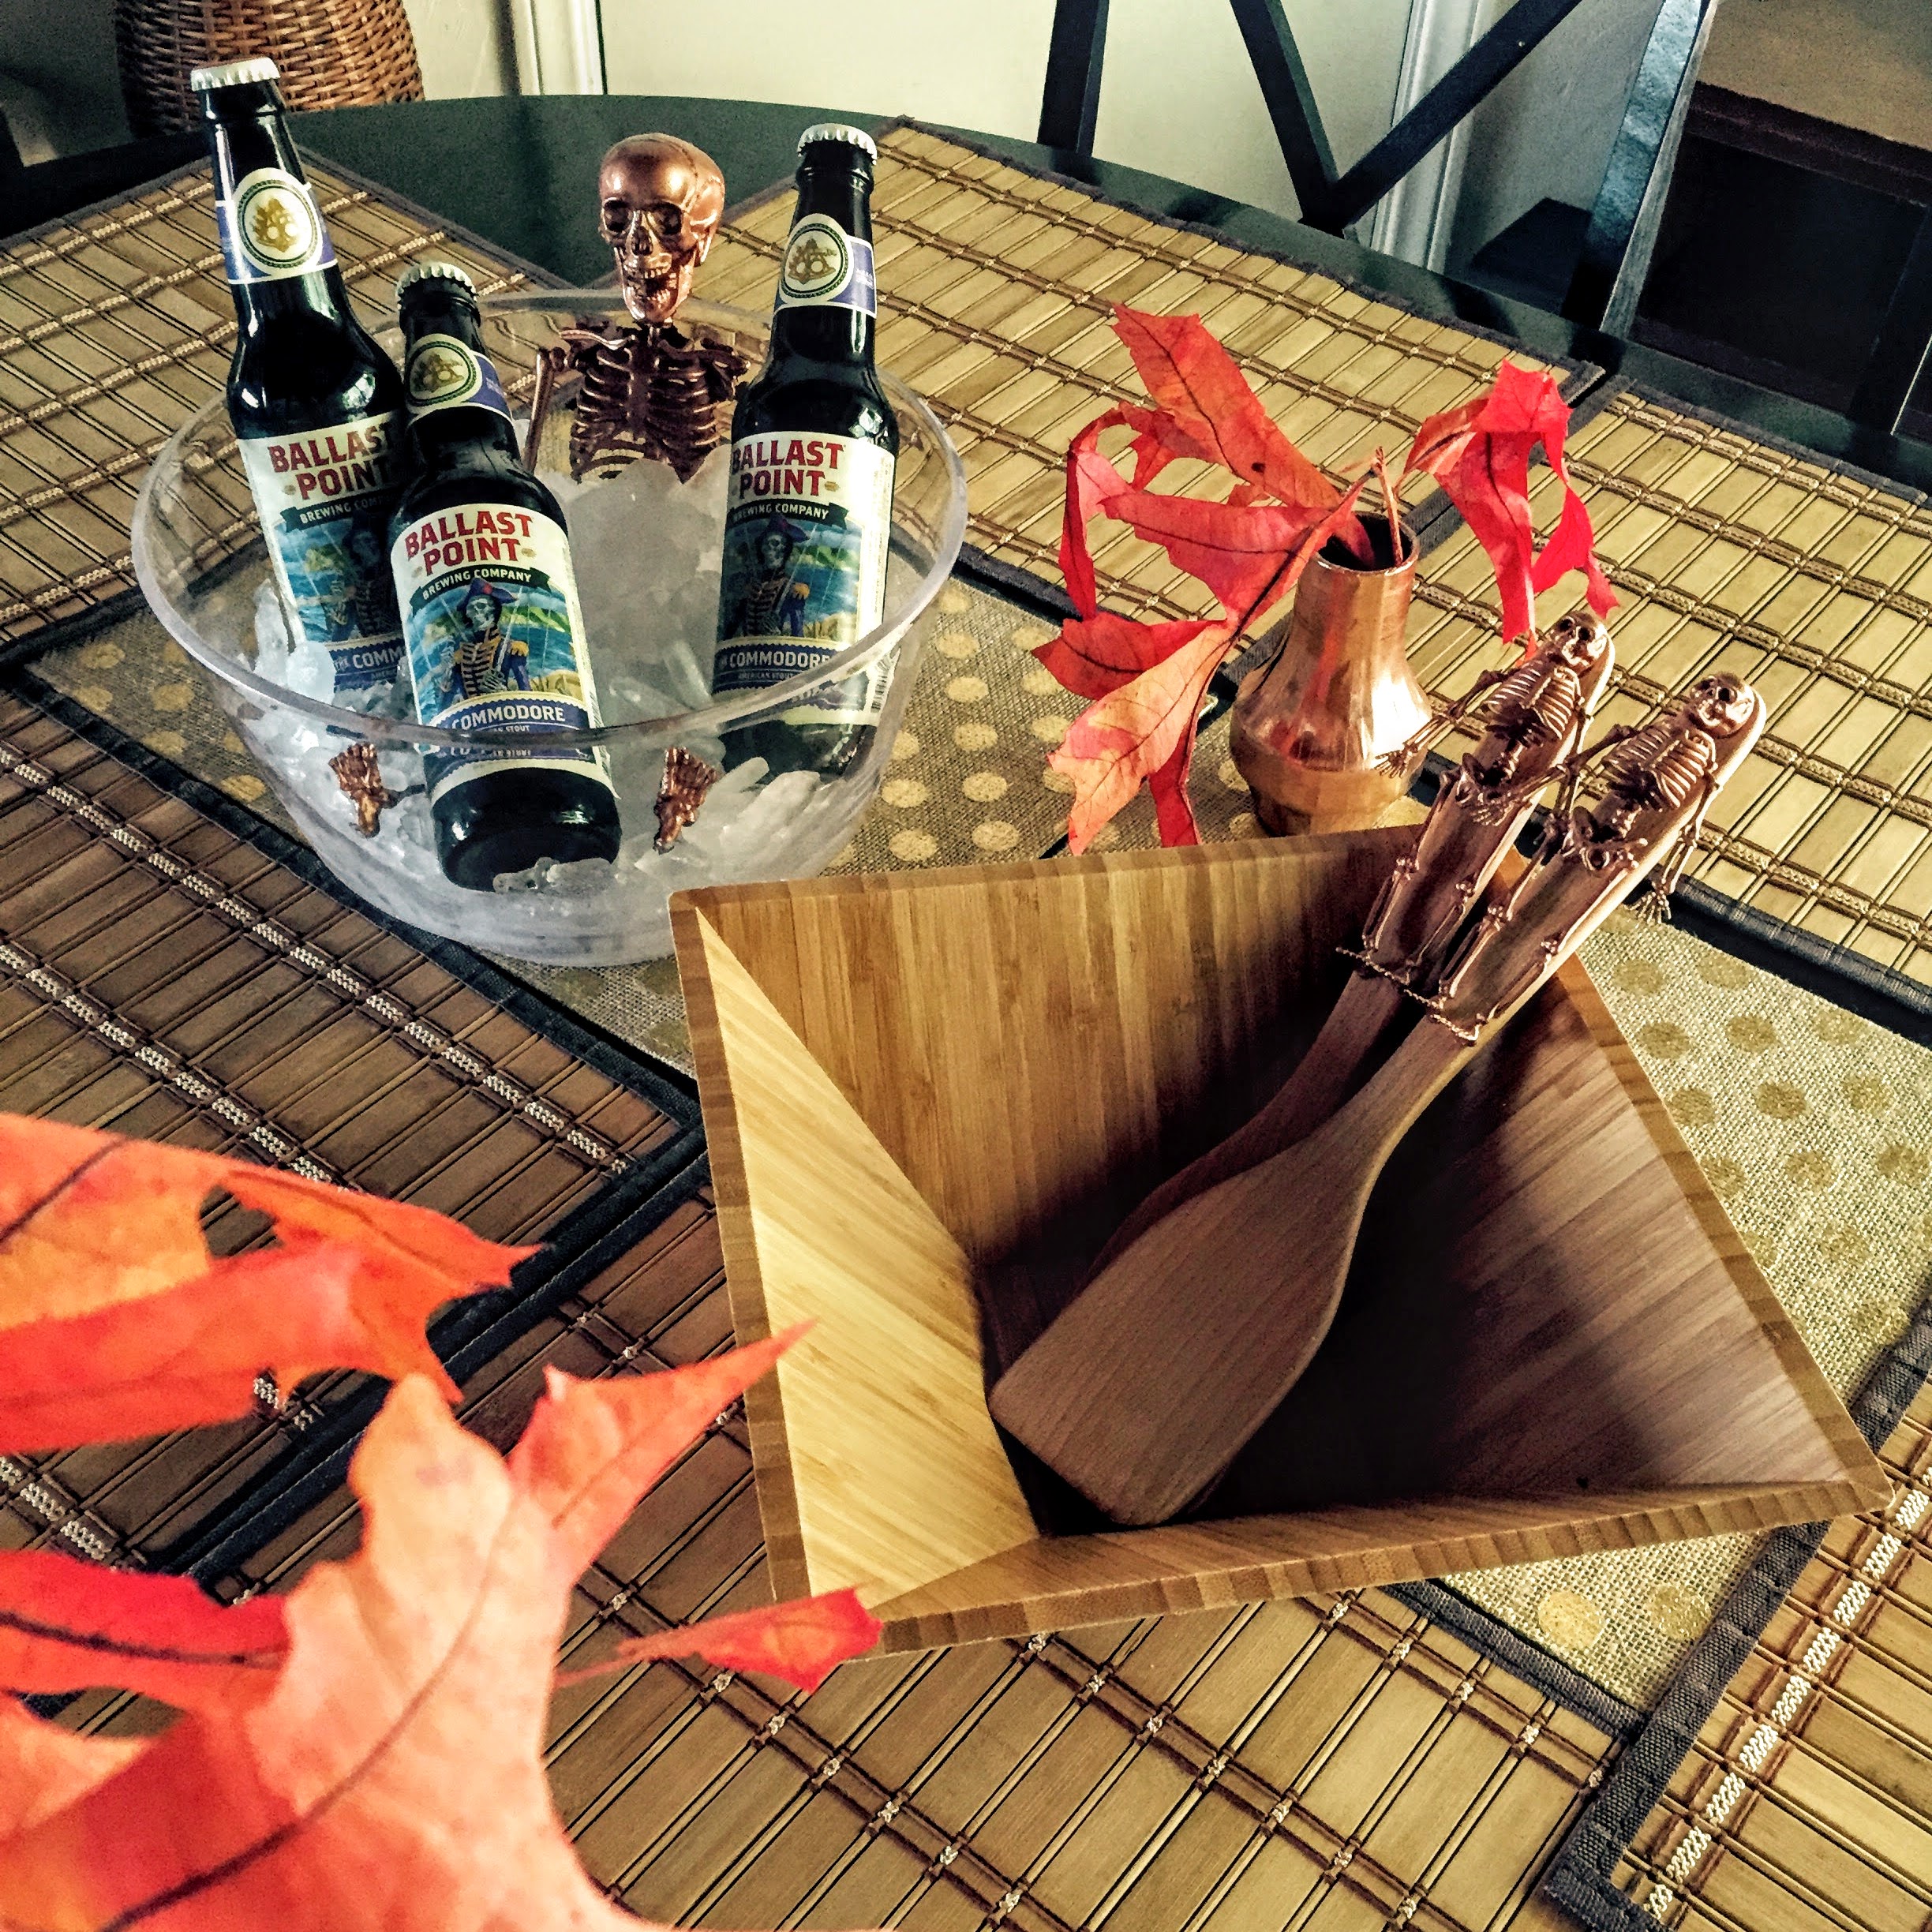
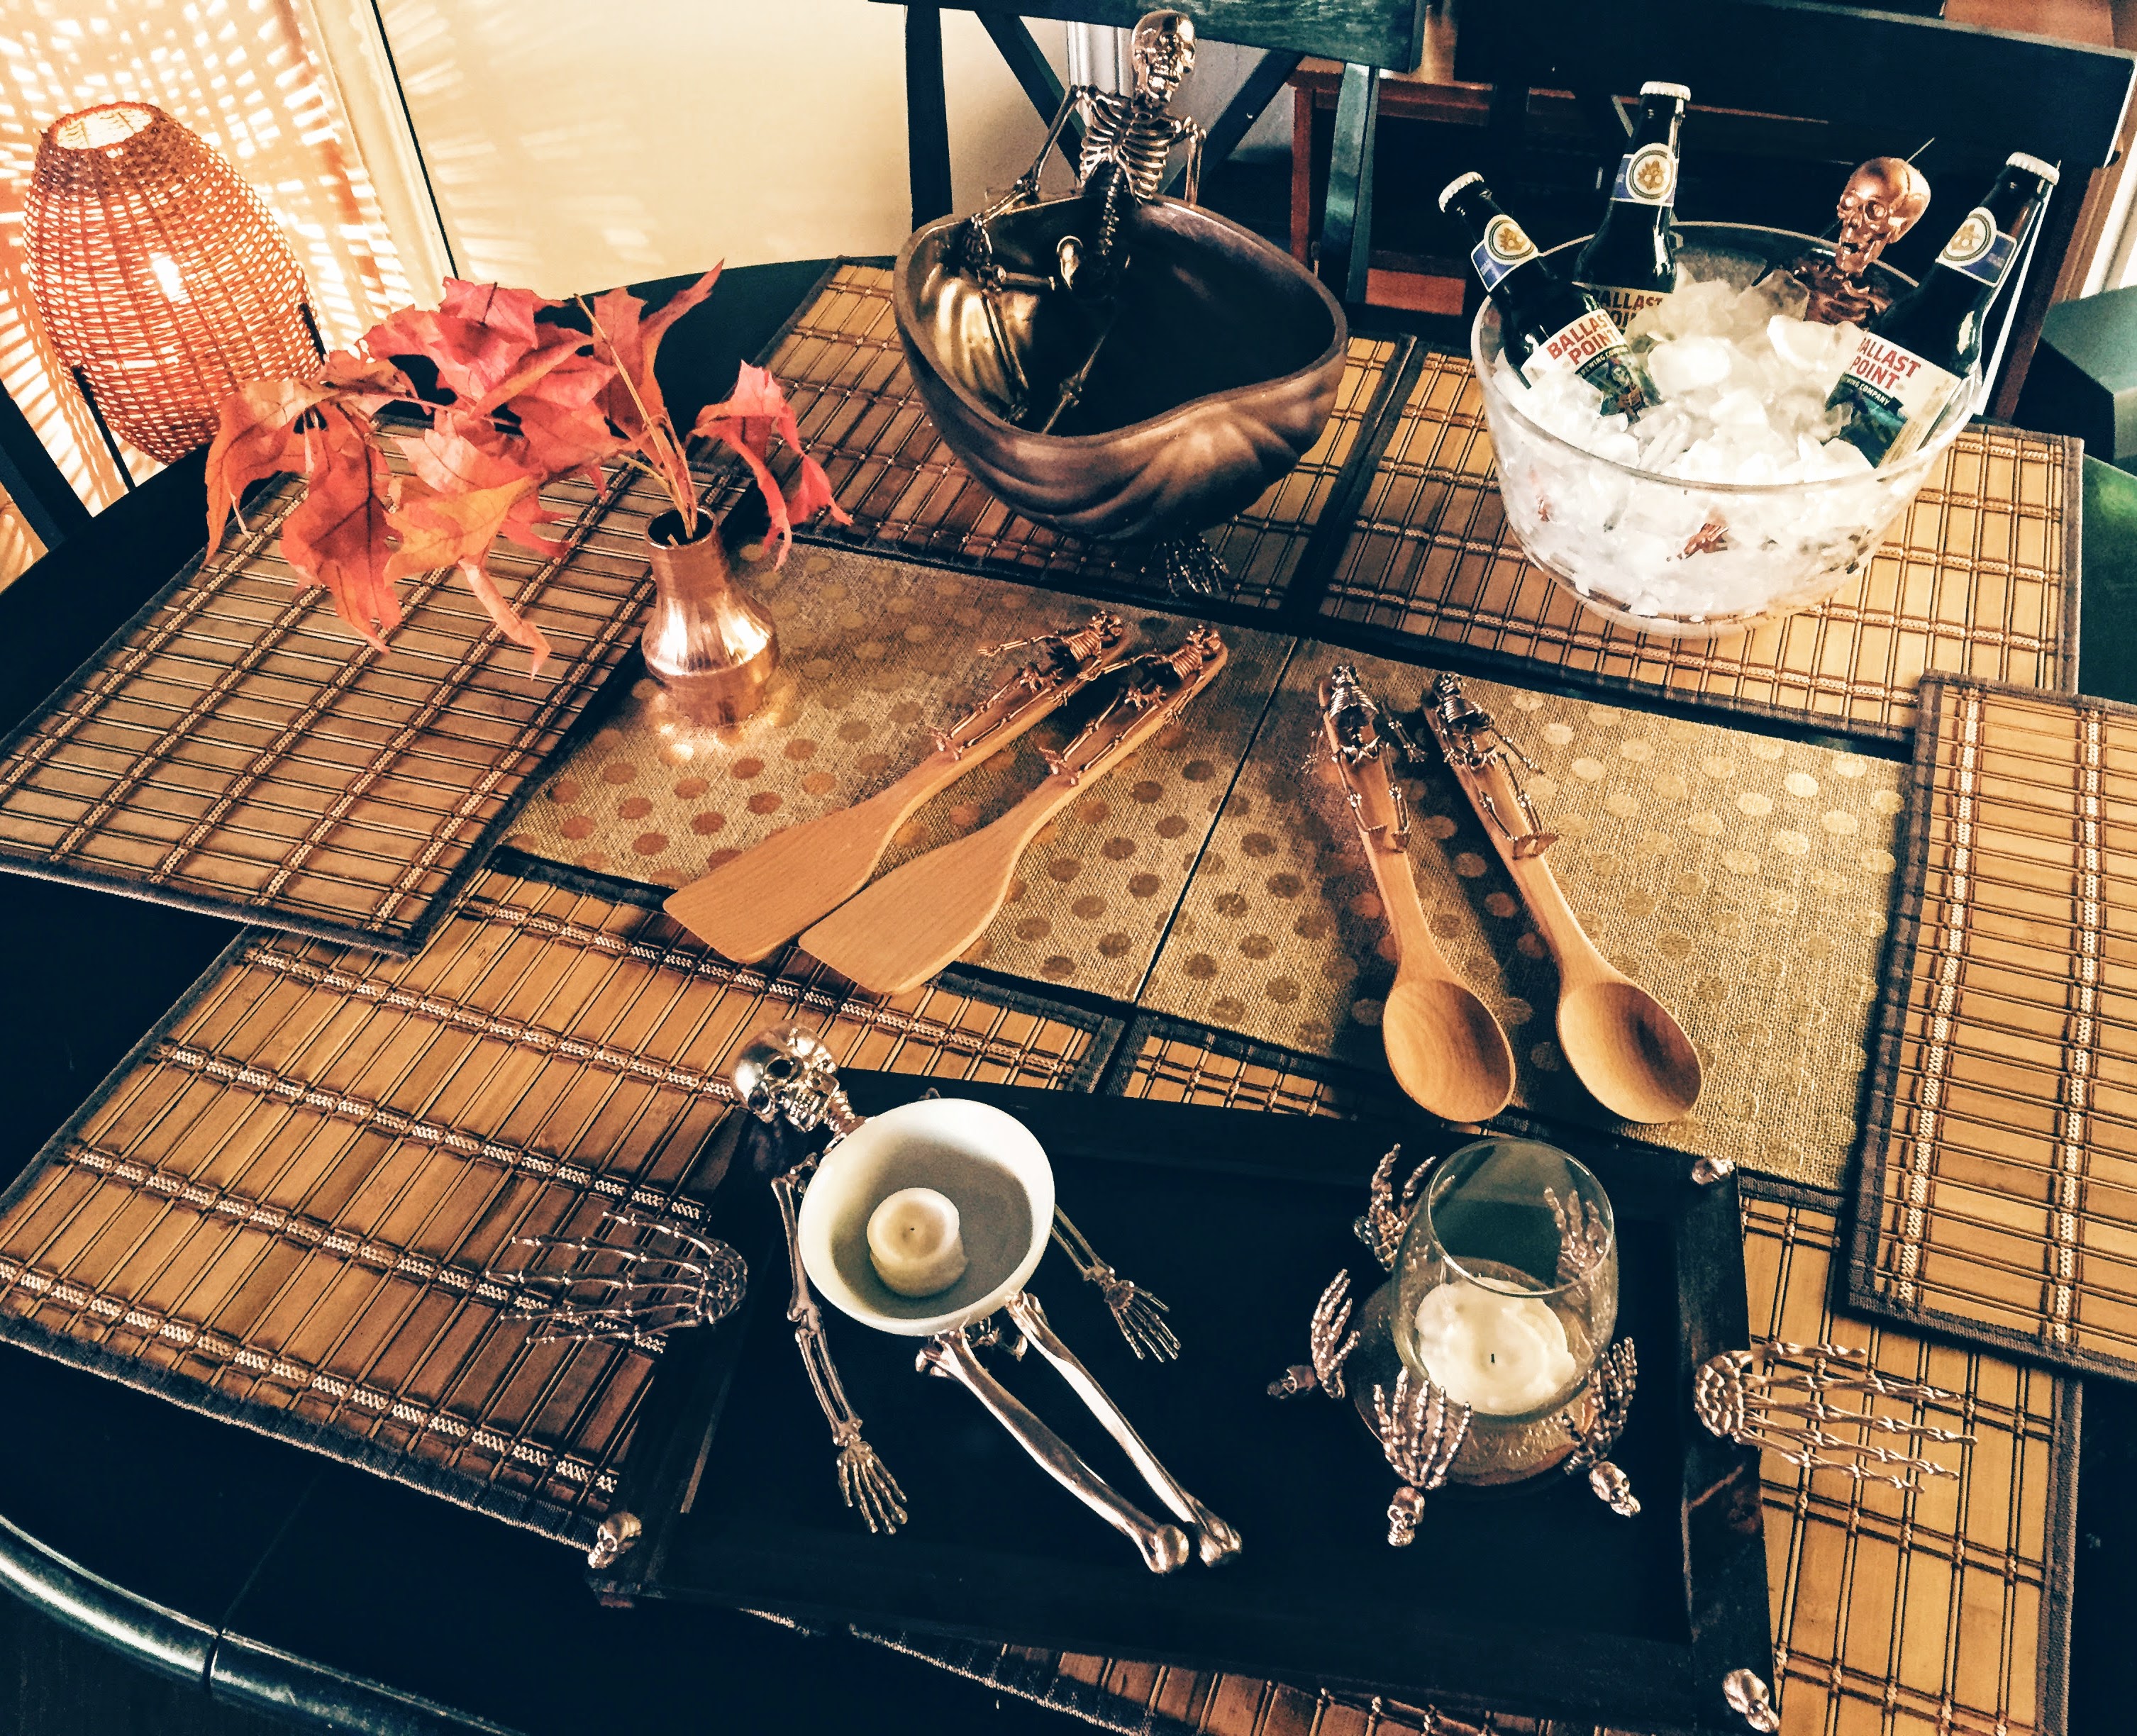
Welcome back to my last Spooky Skeleton Post! This will round out the series. I’ve had fun making these creations, and I hope you’ve been inspired by them! In this post, I will be making 2 sets of Skeleton Serving Spoons.
This project is a snap, so let’s get these little guys ready for your Halloween soiree!
Here is what you will need:
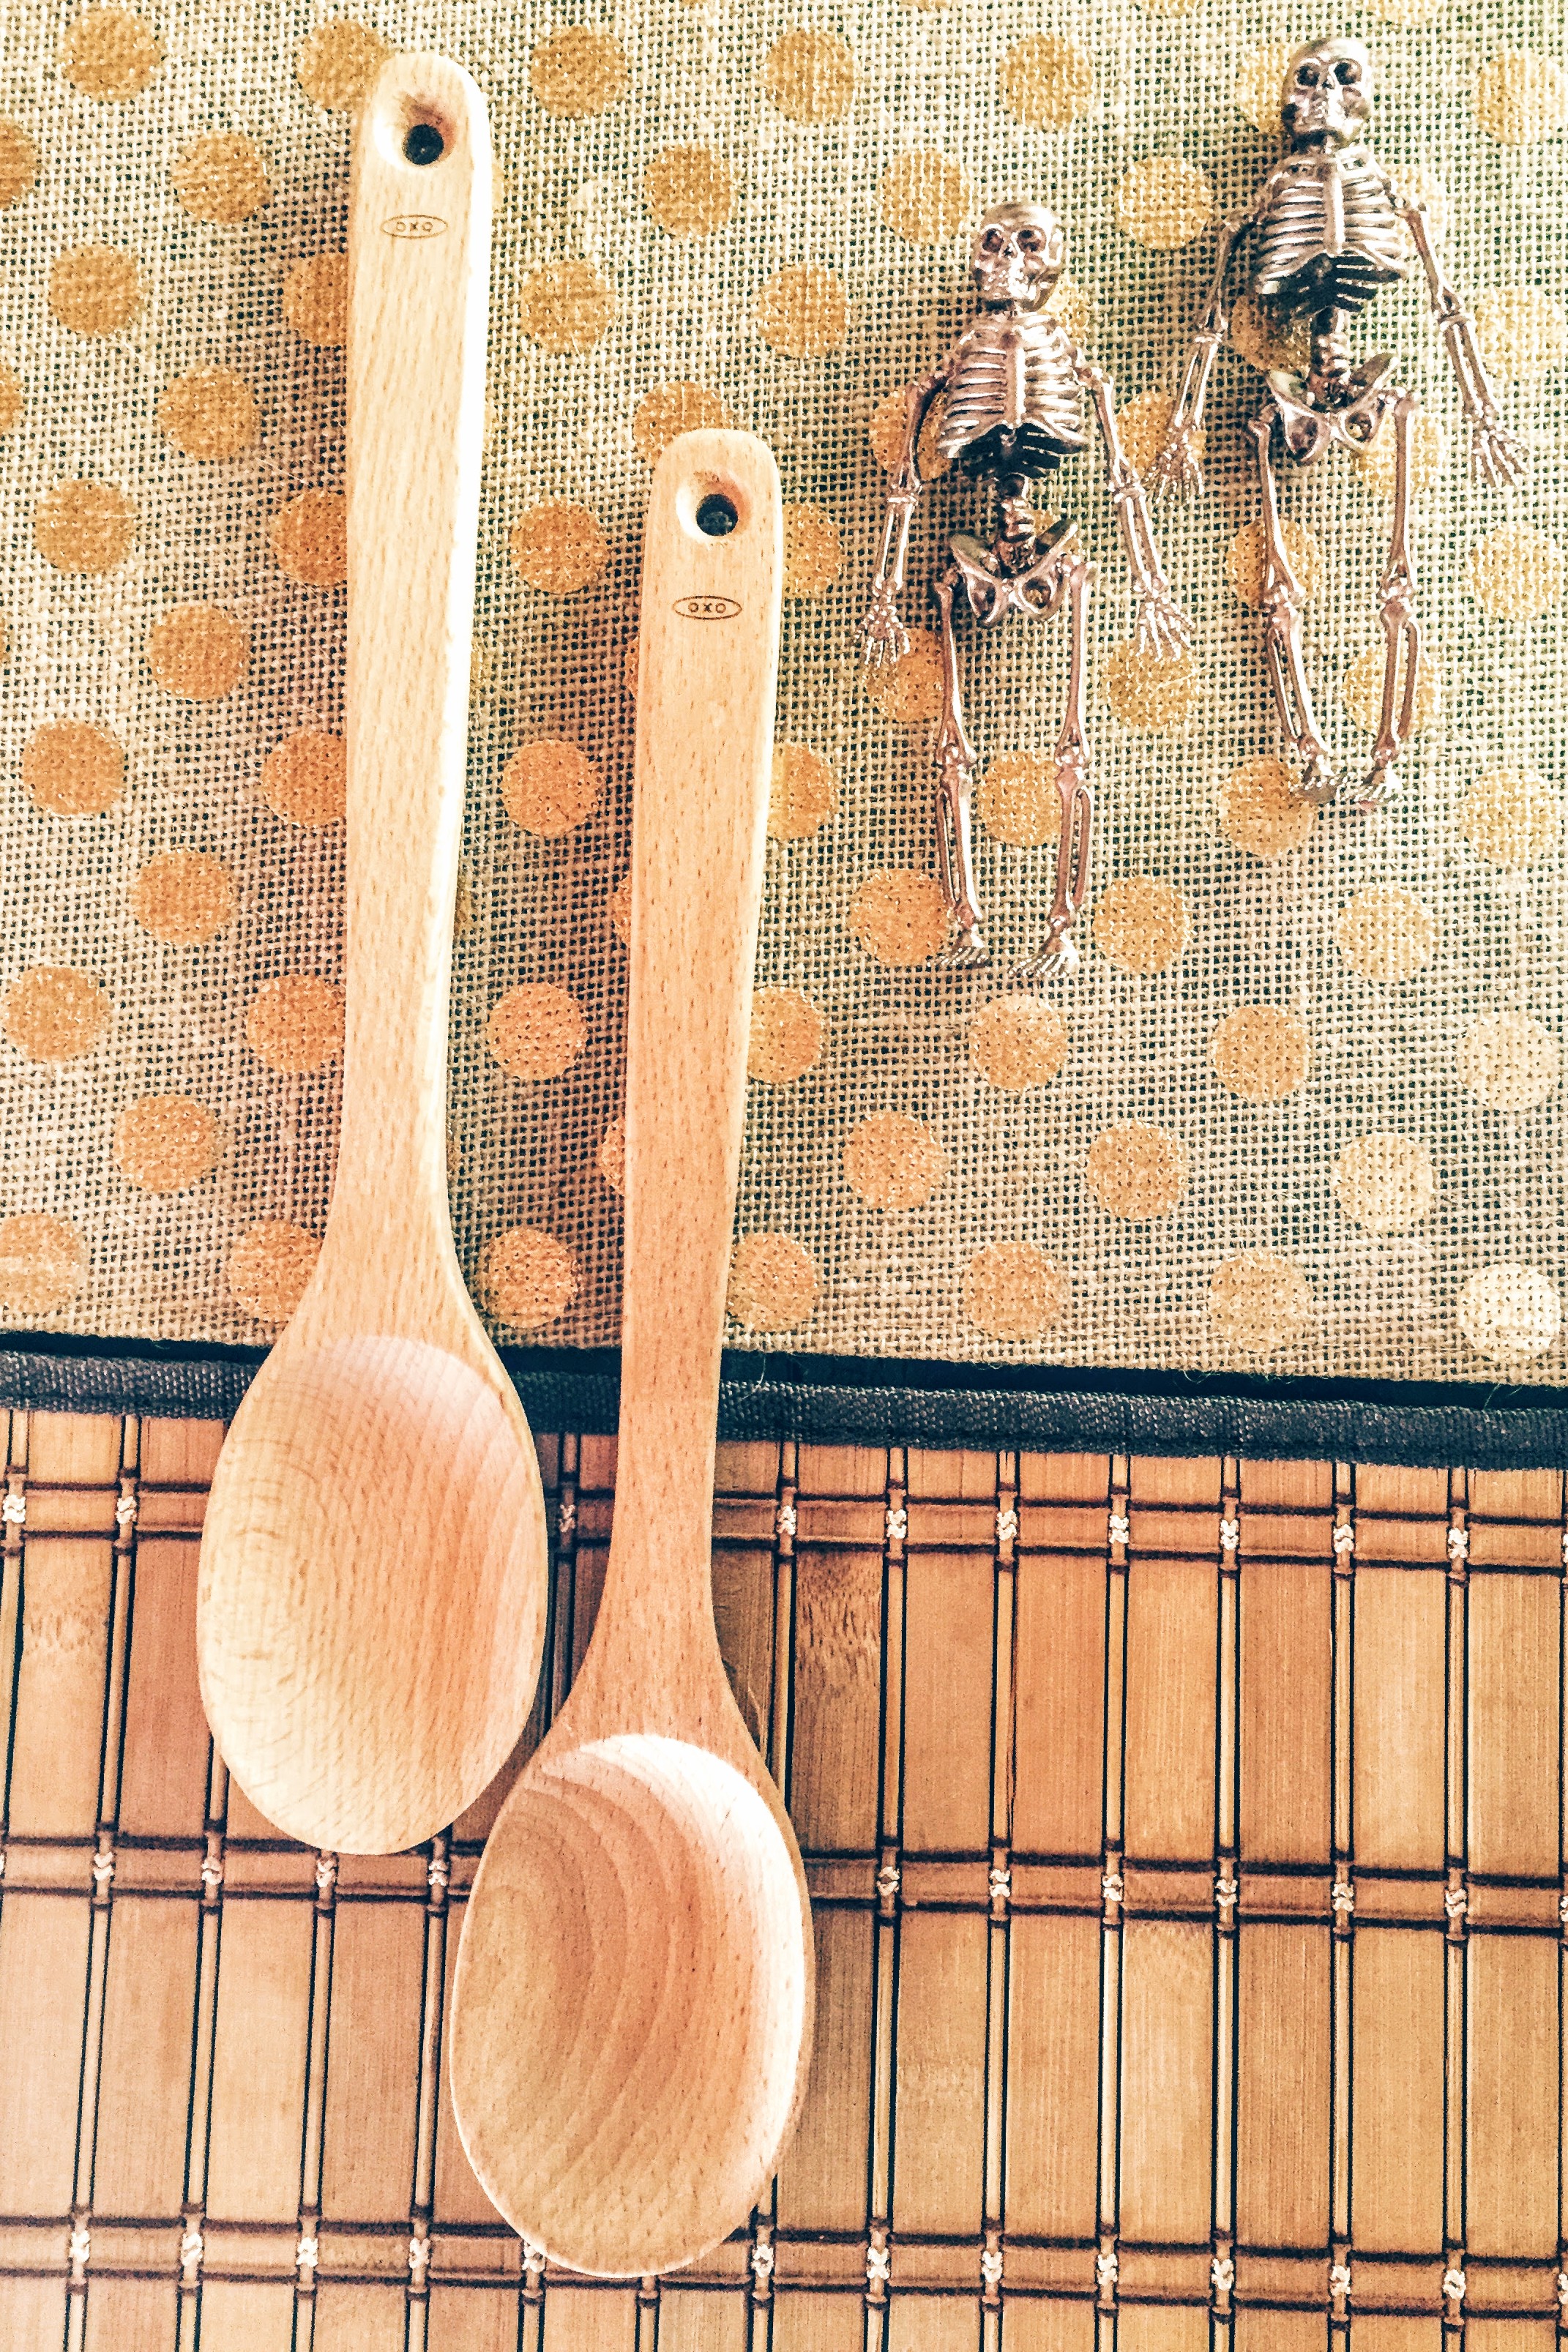
- This Skeleton Garland from Michael’s. I think there are 5 tiny skeletons on each garland. I cut them off the garland and painted them.
- This Set of Serving Spoons from Target and/or this Set of Serving Spoons from Target. They are actually sold as single units. They are by OXO Softworks and they are $5.39/each. VERY reasonable for the quality.
- This Metallic Copper Spray Paint and/or this Rose Gold Spray Paint. Michael’s.
- Crystal Clear Acrylic Spray Lacquer. Michael’s.
- E6000 Adhesive. Michael’s.
If you’ve been working on any of the projects from my previous posts, you may already have some of the things on this list!
The first thing you will want to do, is to cut the skeletons off of the garland, and then cut any excess string from around the neck of the skeleton.
Next, you will choose your paint color and spray your mini skeletons inside and out, backside and front. Make sure they are well coated by doing light sprays, and allowing for dry time between coats. Once they have dried completely, you will want to coat them thoroughly front and back with Crystal Clear Acrylic Spray. If the color of the Rose Gold changes with the Acrylic Spray, you could do a very light coat of the Rose Gold over it (after the lacquer) to regain the sheen. The other option is to keep the acrylic VERY light if you are using the Rose Gold. The Metallic Copper is fine with the acrylic for some reason. The Crystal Clear Acrylic is the best spray that I have found for this purpose.
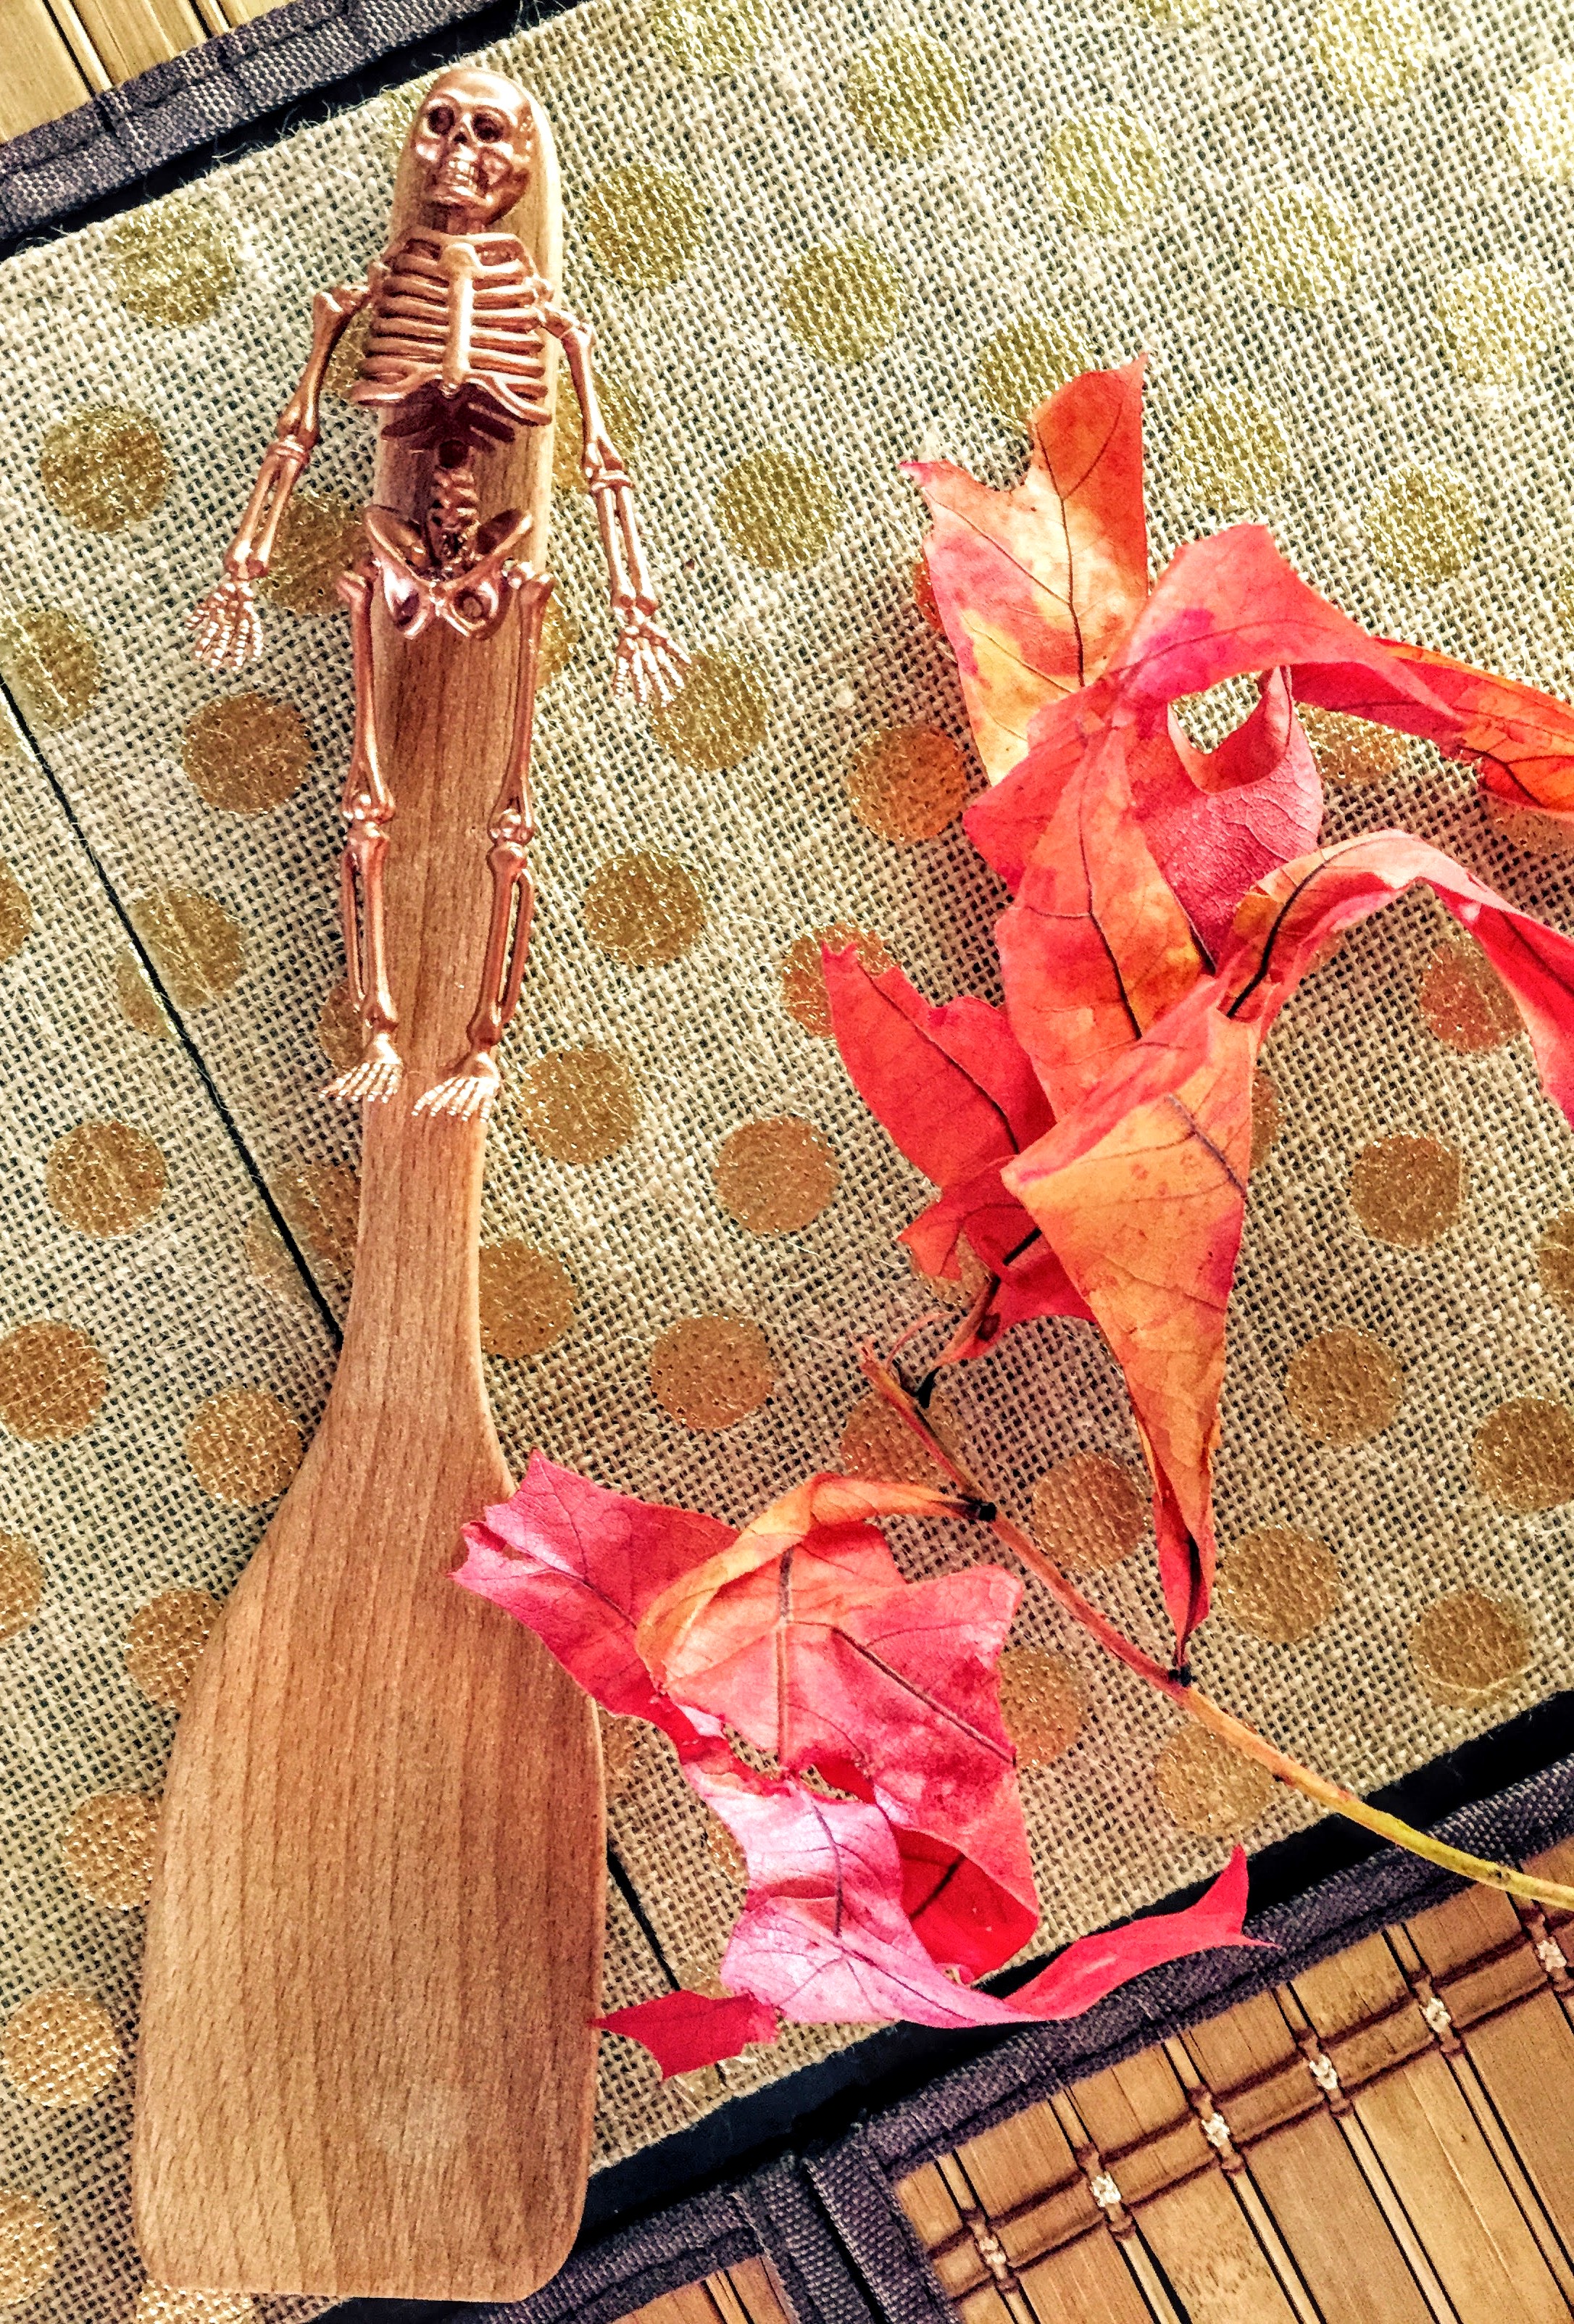
Once your skeletons are painted and have thoroughly dried, you’re ready to start gluing! Take out your E6000 and lay your skeleton on the handle of your serving spoon. The head of the skeleton fits perfectly into the hole of the handle of the serving spoon. So, that is where I started. I put some glue on the head, then on the spine (where it was making contact with the handle), and then, on the pelvic bone/hip area. When you lay your skeleton on the handle, you need to figure out where the points of contact are, then put your adhesive on those points, and then hold the skeleton on the handle until it feels somewhat set. Once the body is secure, you can put a dab of glue on each heel, and lay them down on the handle. The next step is to leave the glue to dry and harden. Repeat the process for as many spoons as you want to make. I made the squared off set of spoons with Copper Skeletons and the rounded set of spoons with the Rose Gold Skeletons.
That’s it! We are done! Super simple!
If you would like to make more of the Skeleton Series, please check out these posts: Skeletons in the Closet Serving Tray, Ship of Fools Skeleton Party Bucket, and Skeleton Ice Bath Party Bucket.
Thanks for visiting The Craine’s Nest! I love having you here. Come back and see my Thanksgiving and Christmas Posts!
Have a happy, warm, and safe Halloween!
Happy Nesting.
Kirstie xo

